Making Cards with Stencils / Metal Template
I love stencils. These are usually plastic or metal templates with simple to fine delicate laser cut designs. I have lots of them; mostly made of brass but also quite a few plastic ones too. Sometime I made my own if I need a design that I do not have.
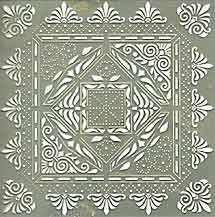
Here are two cards I created with one of the Erica brass stencils. I only use the frames from each template design for these cards.
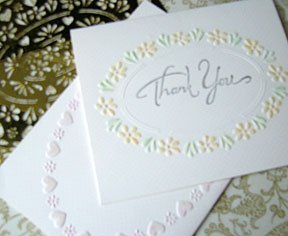
Scroll down to read instructions for making one of these lovely dry embossed cards.
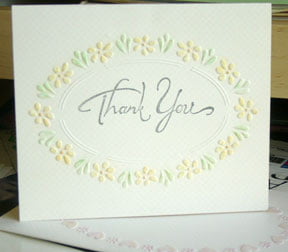
Dry Embossed Card Making Supplies:
Metal or plastic template
Light yellow cardstock
“Thank You” rubber stamp
Pigment inkpad: grey color
Clear embossing powder
Stylus
Lightbox
Heat gun
Color markers
Brush
Clear wax
Dry Embossed Cards Instructions:
Place metal template on the lightbox.
Place the card-stock wrong side up over the metal template.
Rub stylus on wax and press stylus into the design on the template. (You can see the design easily with the lightbox on.)
When finished, turn off the lightbox.
Turn card over so that you can see the right side with the beautiful embossed design.
Place the metal template over the design so that the embossed area protruded out from the metal template.
Brush some marker colours onto a styrofoam plate.
Using the brush, pick up colour from the plate and lightly brush onto the protruded design.
Ink the Thank You message rubber stamp with grey inkpad and stamp on the middle of the card inside the dry embossed frame.
Pour clear embossing powder on the stamped image.
Pour off excess powder and heat with heat gun.
 US
US CA
CA
