How to Make Your Own Stickers At Home
You can easily make your own stickers at home. These homemade stickers can be used as embellishments for your homemade cards or scrapbooks.
All you need to make your own stickers are a roll of the broadest clear cellophane tapes and some black and white or colour photocopied images and follow the step by step instructions below.
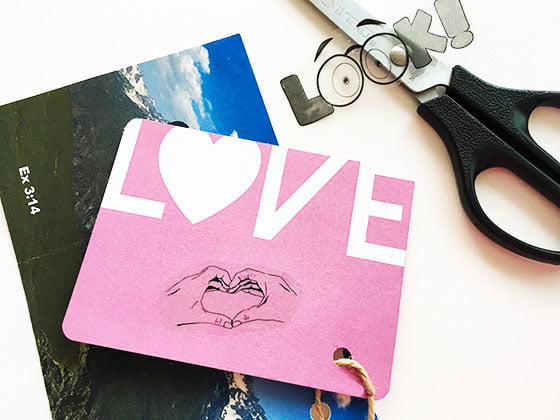
Stickers Making Supplies Needed:
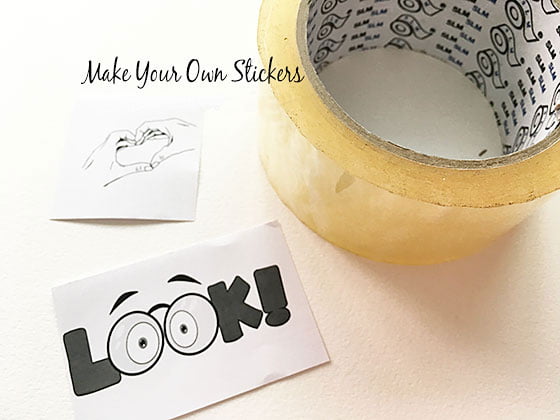
broadest roll of clear cellophane tape
photocopied or laser printed images
water
Instructions for How to Make Your Own Stickers
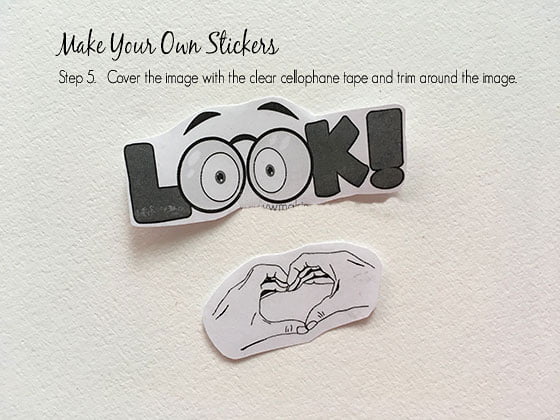
Have your desired images black and white or colour photocopied or laser print on a black and white or colour laser printer.
Trim the photocopied/laser printed images.
Place it face up on a flat working surface.
Cut out a piece of clear cellophane tape slightly bigger than the size of the image.
Cover the image with the clear cellophane tape and trim around the image
Use your thumb to rub over the clear tape.
Soak the tape in water for a minute.
Remove the paper from the tape by gently rubbing on it in the water. The soaked paper will come off easily leaving the image on the tape.
Leave tape to dry.
Once dried, attach to your card or scrapbooking paper. If the tape is not sticky enough, just use a glue stick to dab on the tape for stickiness.
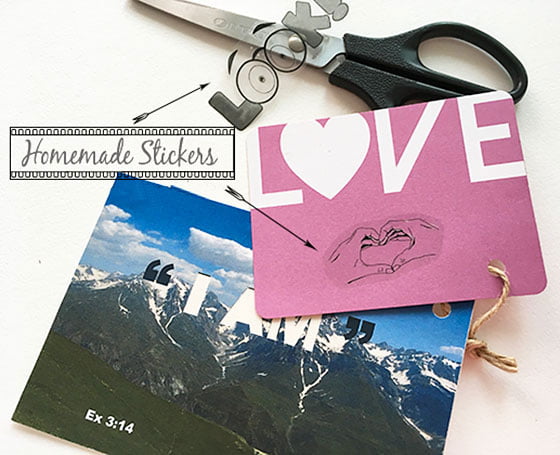
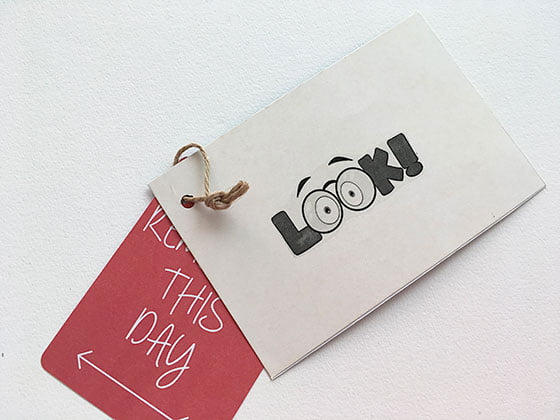
If it’s a black and white image and you want to add some colour, just add glitter glue to the sticky side of the image on the tape.
But nowadays, you can easily print or photocopy in colour. For the above, I print out the images on 80 gsm office paper as a black and white print on a laser printer as I ran out of colour inks.
 US
US CA
CA
