Watercolor Christmas Cards
Have you tried making watercolor Christmas cards? They are not difficult to make especially if you choose simple drawings or rubber stamp images for your handmade Christmas greeting cards.
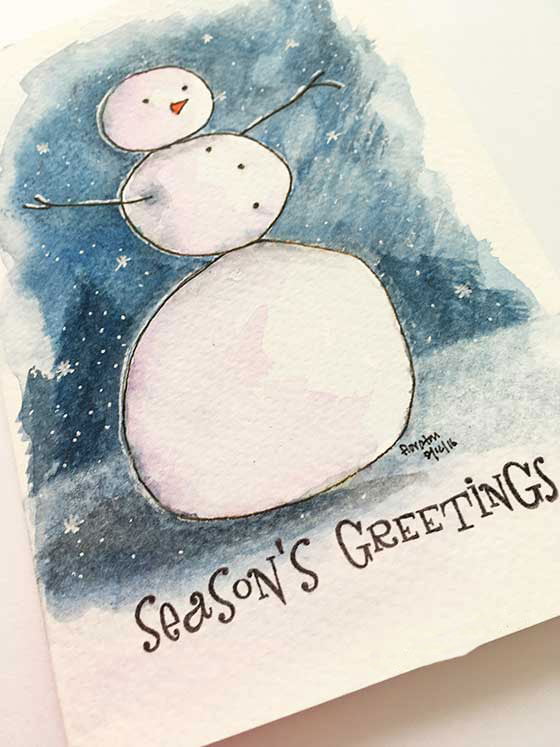
Scroll down to read and view more about this Season’s Greetings card and download the Snowman Colouring Card in pdf.
Watercolor Christmas Cards - Snowman and Christmas Tree
Here are three simple handmade Christmas cards I created for the holidays season. The first one is that of a hand drawn snowman with a rubber stamped snowflake frame.
Card #1
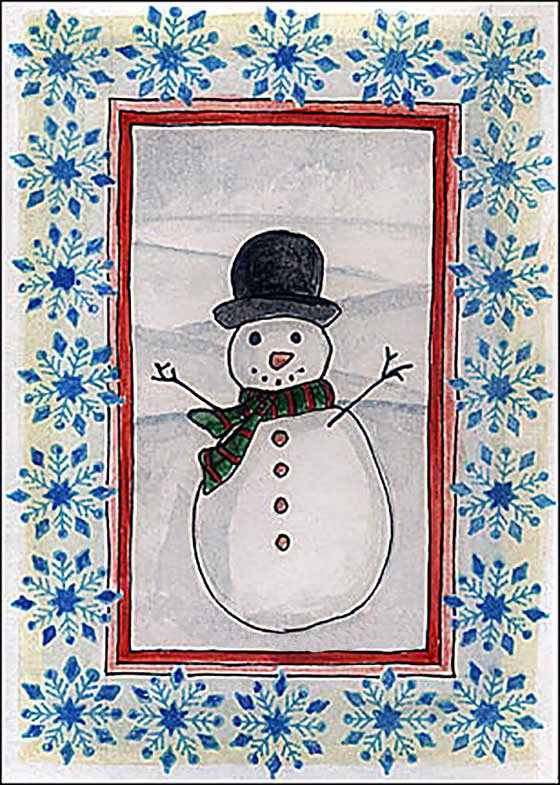
Snowmen are easy to draw. Draw a circle for the head then add a heavy bottom oblong or egg shape. Two dots for the eyes, a kind of triangle for the carrot nose and more dots for the snowman’s mouth. Then two twigs for the arms. And there’s your simple snowman.
Here I added a hat and a scarf or muffler just to give it some characters. More tiny circles to represent carrot buttons.
I used a light tint of grey watercolor to give the snowman a bit of dimension. And black for the hat. Just use black watercolor on the left of the hat, clean the brush and pull the black to fill the rest of the hat. When I feel the color is too intense, I just wash the brush and go over the place where I want it to be lighter.
For the background of this watercolor Christmas card, I used the small light grey tint to five hill/slope shapes to the snow covered landscape.
I then drew a frame using a Sakura’s Pigma Micron 005 pen and color. Then I added a wash of light yellow around the frame.
Finally, I used a blue ink pad to directly color the snowflake rubber stamp and make a border around the snowman. Add blue color to the open spaces in the snowflake images.
That’s it! A simple watercolor Christmas card.
Card #2
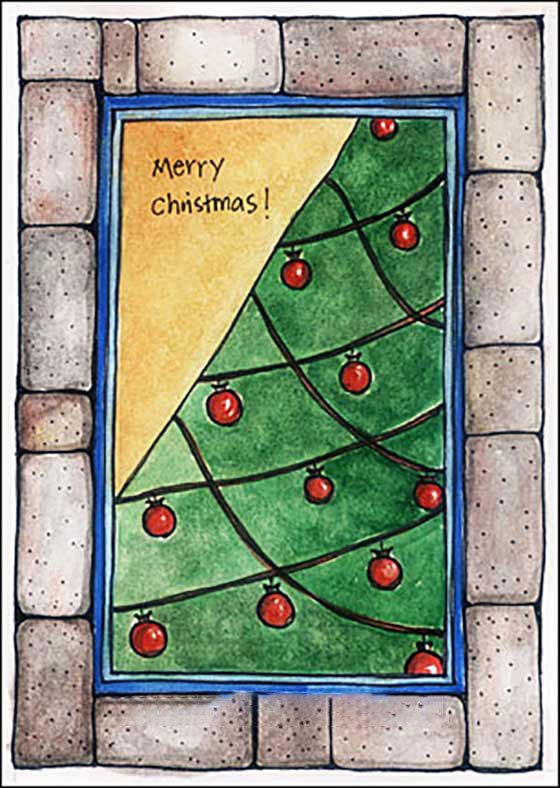
Snowmen and Christmas trees are things that we equate with Christmas. So above is a watercolor Christmas tree card. Look simple, right? It is really simple to make.
First, I used a pencil and ruler to lightly draw in a frame. Then fill in the bricks with a Sukura’s Pigma Micron 005 pen. I use this pen because it’s waterproof and so when I want to add in watercolor, the black outline will not bleed. For thicker lines, I use a #01 pen
Draw the Christmas tree. Actually, it’s just a line drawn diagonally from the top right to the left side. Add wavy lines and Christmas ornaments hanging on them.
Use a clean wet brush to pick colors and paint. Clean the brush to pull colors for shadows and lights.
Finally, use the #005 pen to add dots over the bricks and write ‘Merry Christmas!’ on the top left.
Try it! It’s really very easy.
Card # 3
And here’s another hand-drawn snowman card watercolored with and without a border.

First, I drew the snowman with a fine marker and then scan and upload it to my computer and placed onto a blank card. Print as many as I like on A4 watercolor paper and cut in half. Score the middle line for folding and paint with watercolour.
Download Snowman Colouring Card
If you like, you can download this card (pdf)and print it for coloring with color pencils or watercolors.
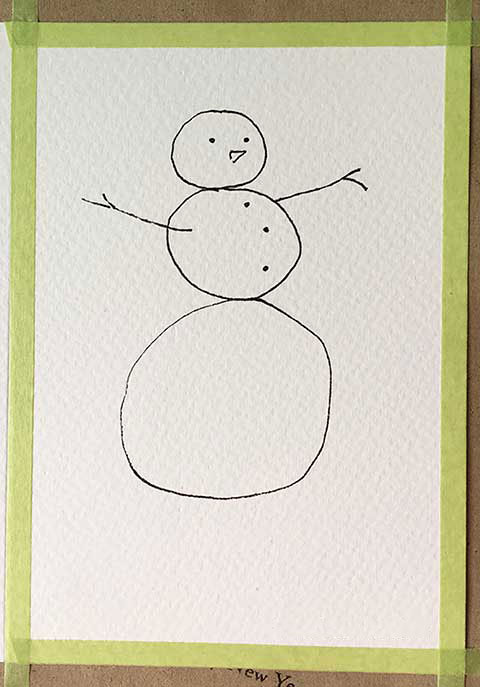
I covered the border with painter’s tape which will come off easily without damaging the paper underneath after colouring.
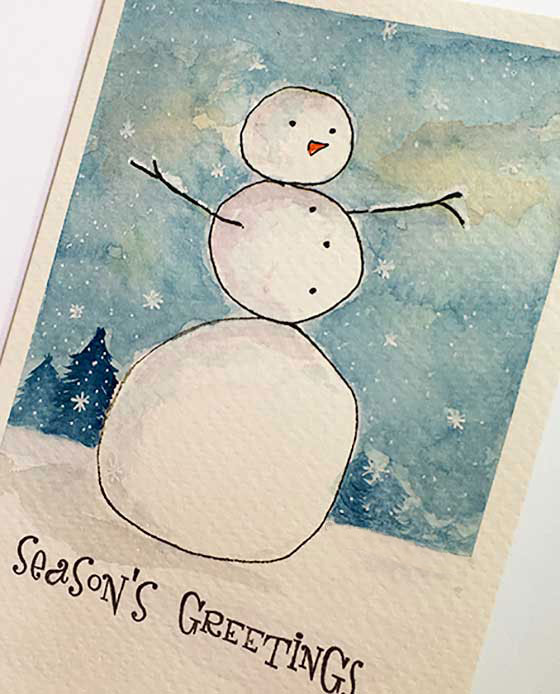
Above is the watercolor Christmas card painted with a border and stamped ‘Season’s Greetings’ and below is one without the border.
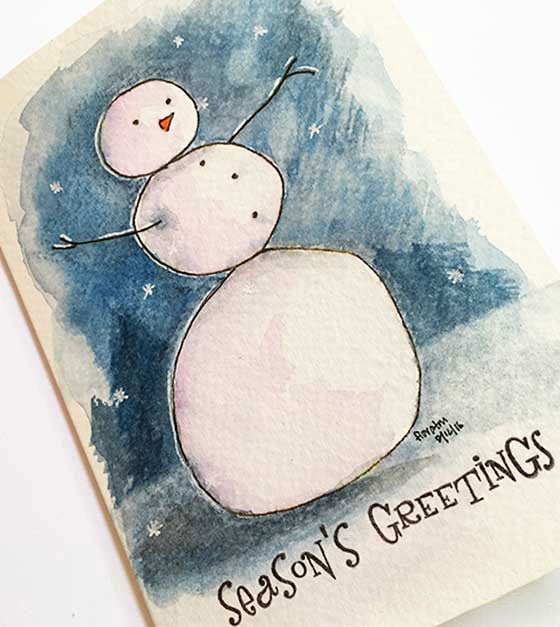
Notice that I did not add the fine snowflakes here yet. After careful study, I decided that some tiny dots added with a white color gel pen makes it look better.
The top Christmas card on this page had the final touches done.
 US
US CA
CA
